Within the Social27 Events Platform, you are able to create schedules that appear on your event's home page to feature your event sessions, Happy Hours, sponsors, and meetings. This article contains everything you need to know to manage your schedules. Topics include:
Walkthrough Video:
Creating Schedules
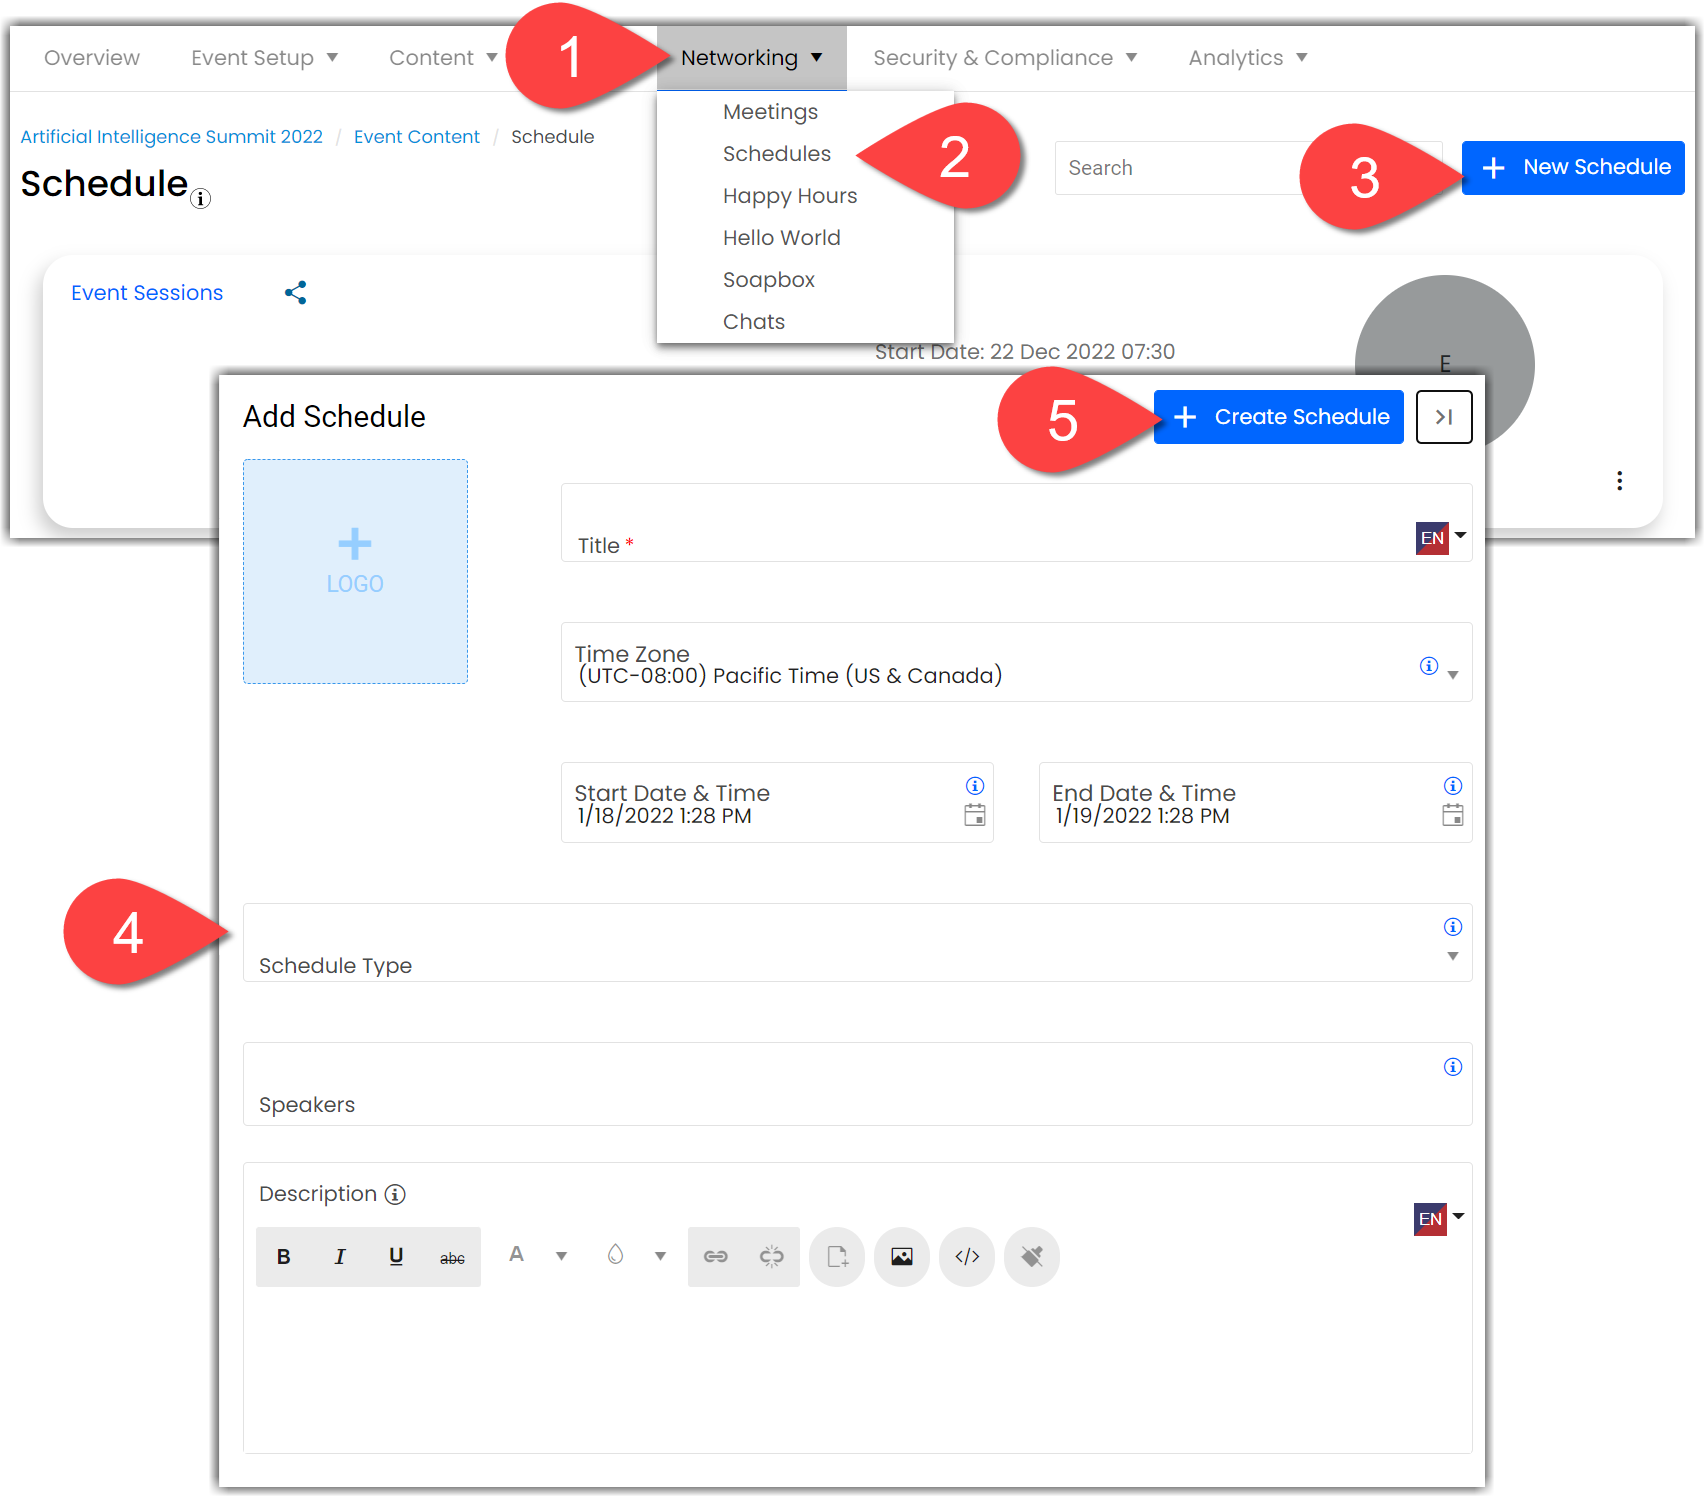
To create a schedule, log in to the platform, select a workspace and open an event. Using the top toolbar, navigate to Networking > Schedules and click New Schedule. Once you've added all schedule information, click Create Schedule to save your work.

When you select an option from the Schedule Type dropdown, a new dropdown will appear that allows you to highlight a specific item within the type you selected.
Editing Schedules
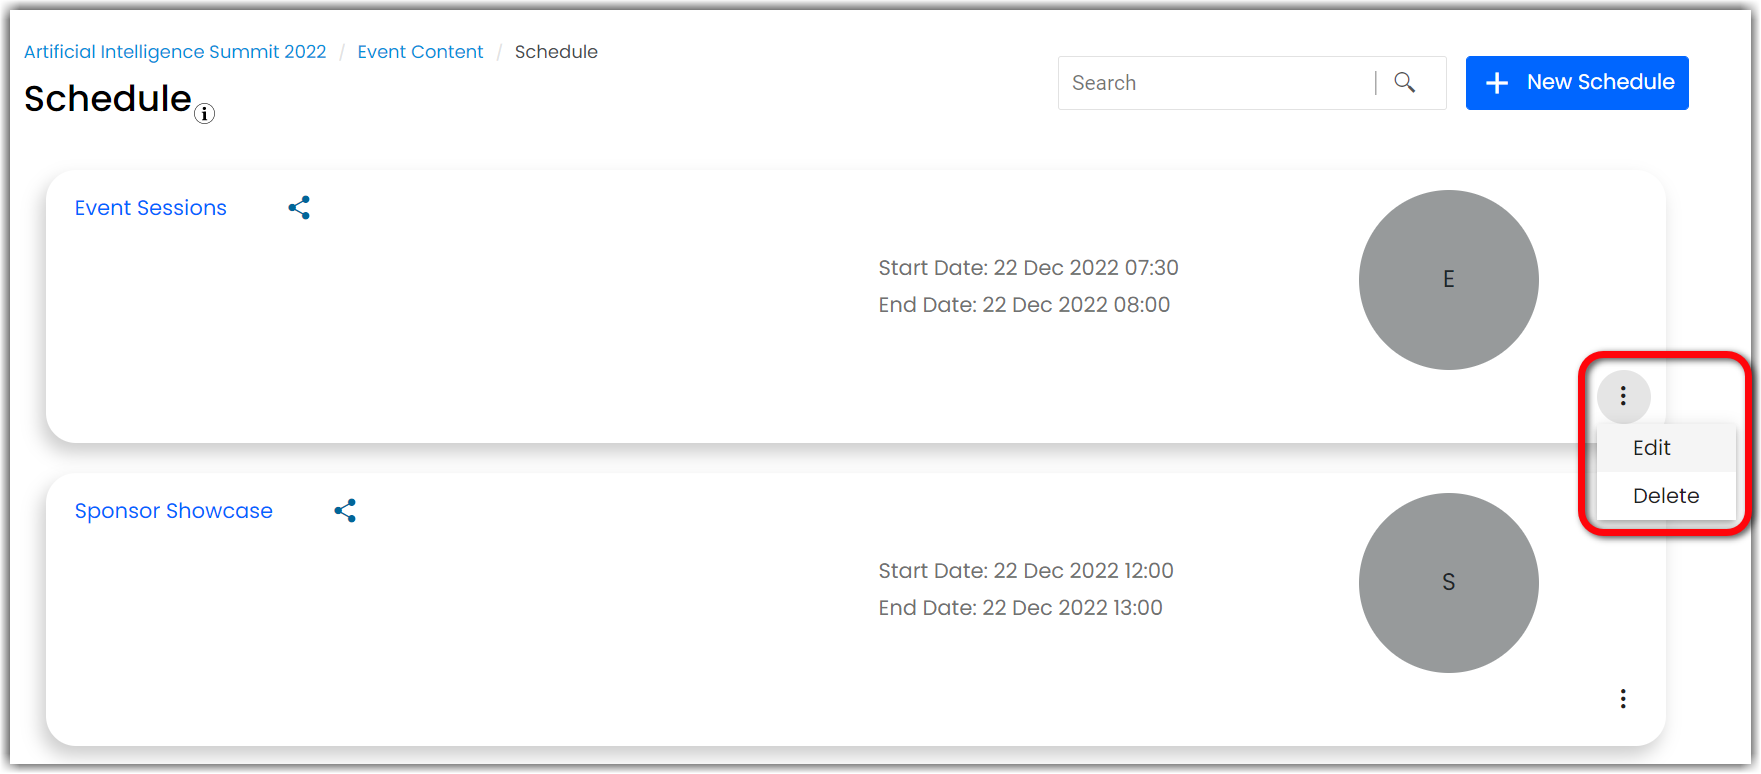
All event schedules can be found on the Networking > Schedules page. To edit or delete a schedule, click the ellipses icon on the schedule tile.

Displaying Schedules
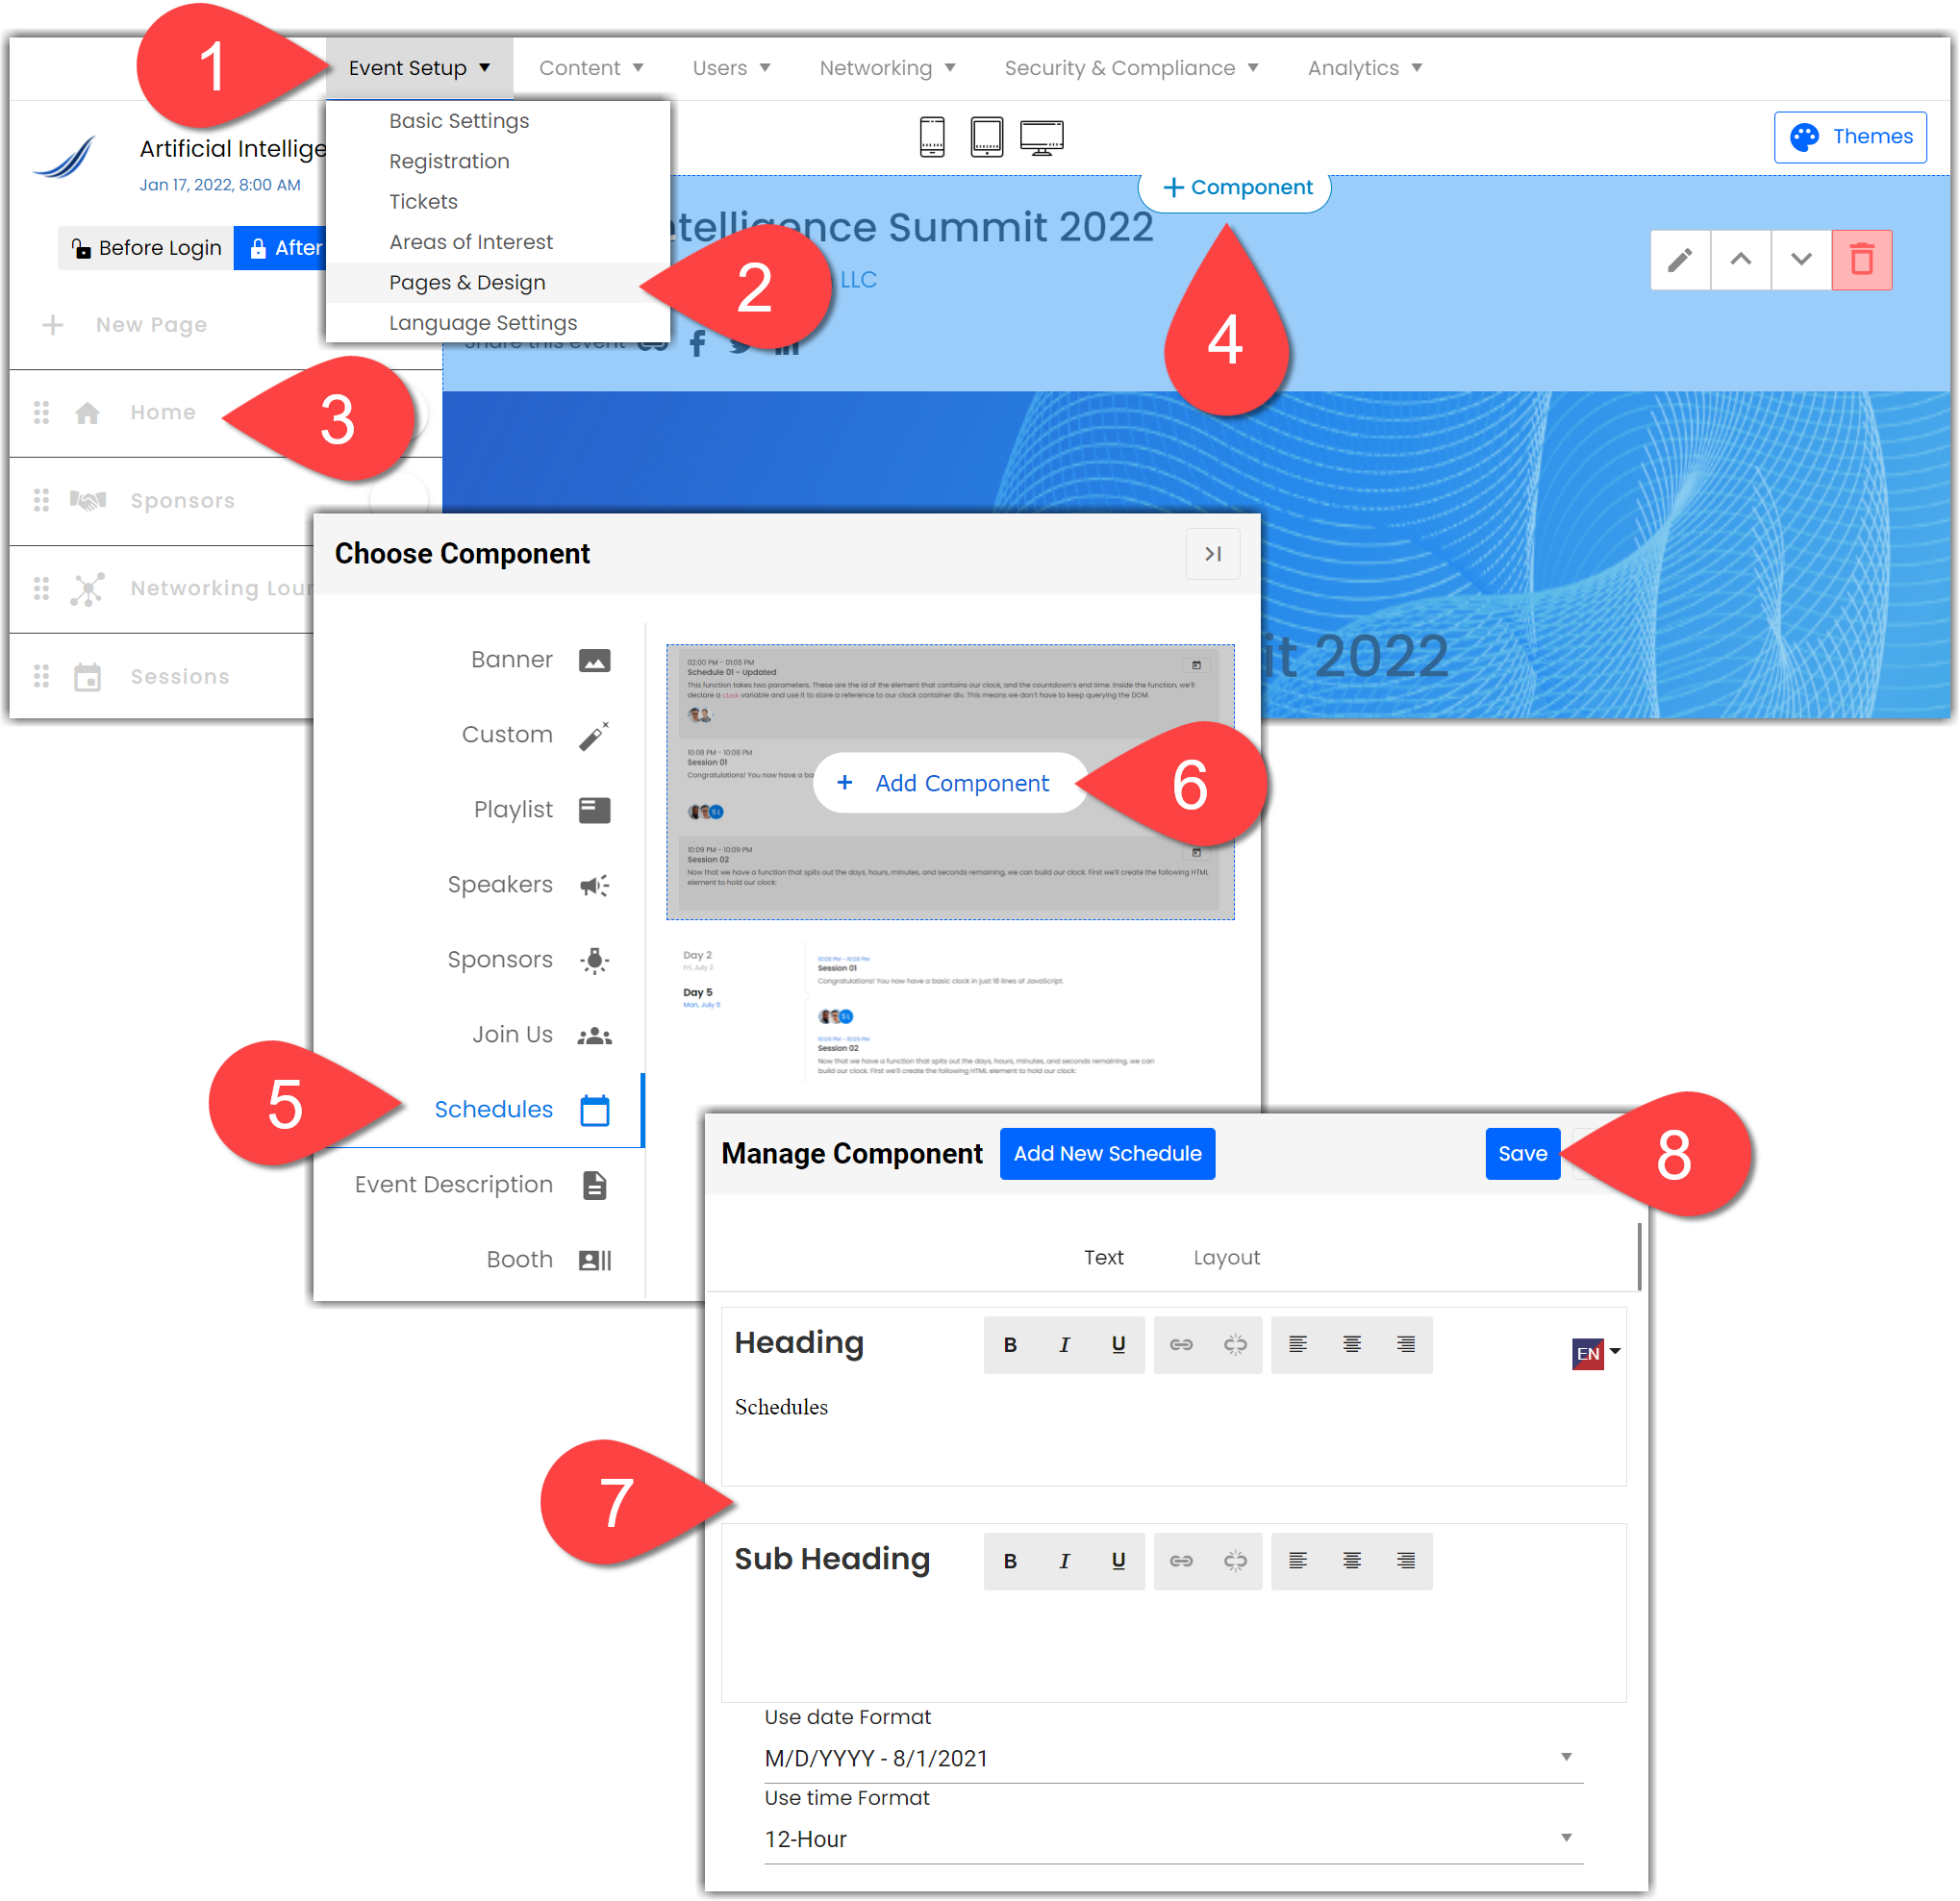
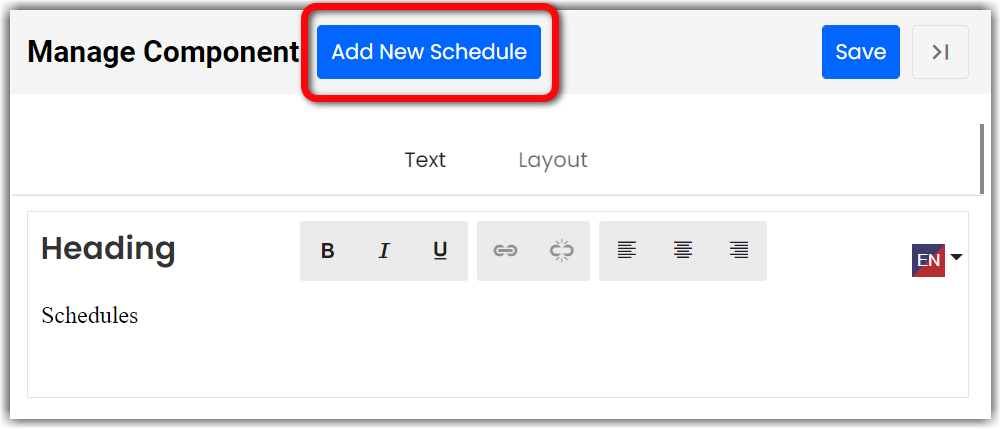
To display a schedule on your event's home page or on one of your event's custom pages, use the top toolbar to navigate to Event Setup > Pages & Design. Open the page you want to add a schedule to and click Add Component. Select the Schedules component, pick a layout, and again click Add Component. You can update the component settings, including heading, sub heading, date format, and time format. Once you've made all changes, don't forget to click Save.

For more information about using page components, check out this article.
|
|
Walkthrough Video:
![]() Further Reading :
Further Reading :


Comments
0 comments
Please sign in to leave a comment.