Once you’ve designed your event and added all the necessary content, you can publish it with the click of a button.
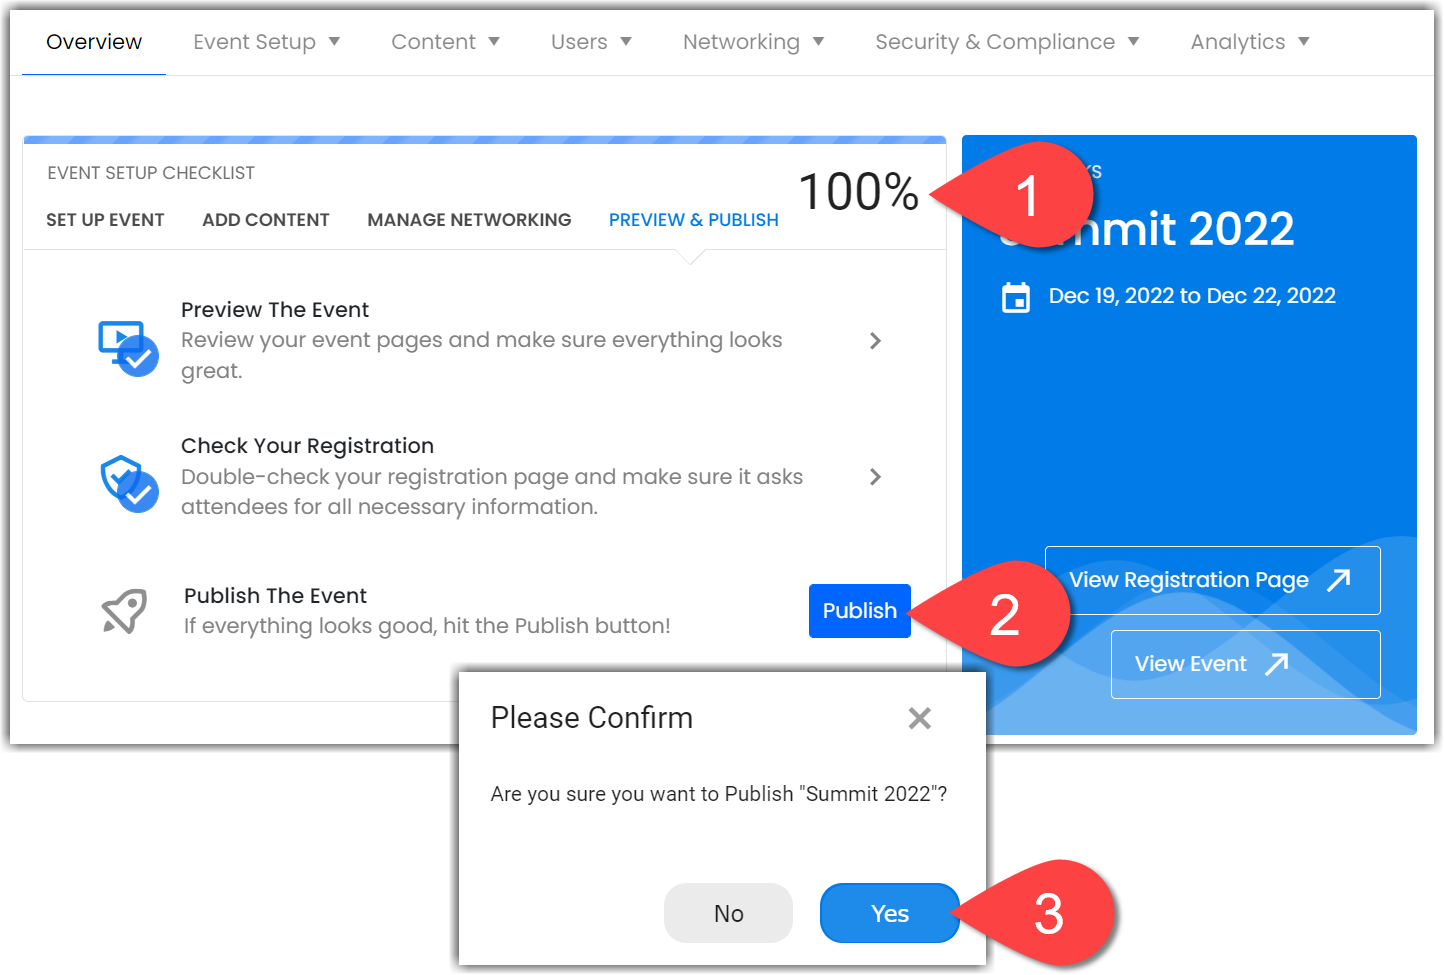
To publish your event, log in to your workspace and select your event. On the Overview page, go to the Preview & Publish tab in the Event Setup Checklist. You’ll see the Publish button at the bottom of the list.
We recommend that you don’t publish your event until it is ready to go live. To ensure you’re ready, you can use the event setup checklist to create and customize each aspect of your event.
Once the progress bar at the top of this checklist is at 100%, you’re ready to publish! Click the Publish button and confirm when the popup appears.

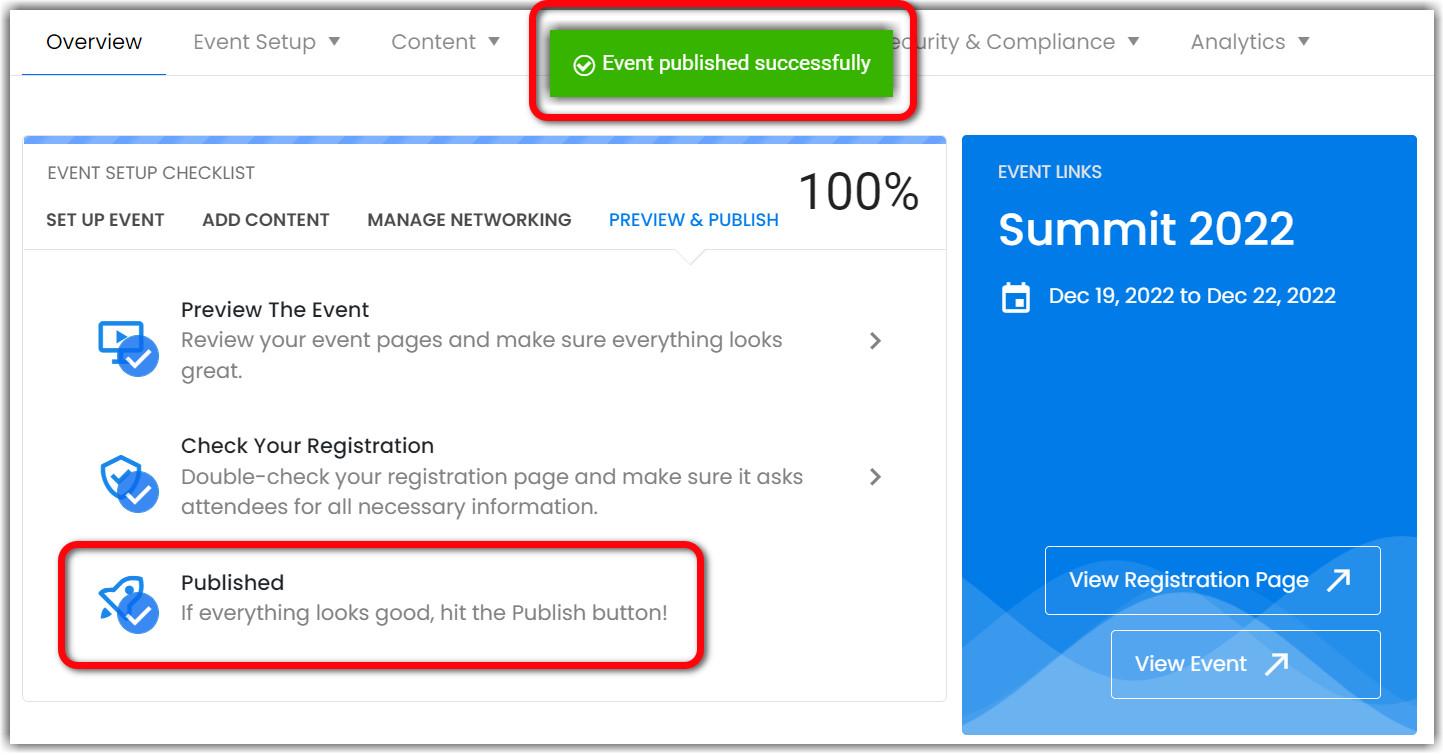
A green notification will appear at the top of the screen once your event has been successfully published, and the Published item on your Event Setup Checklist will be checked off.

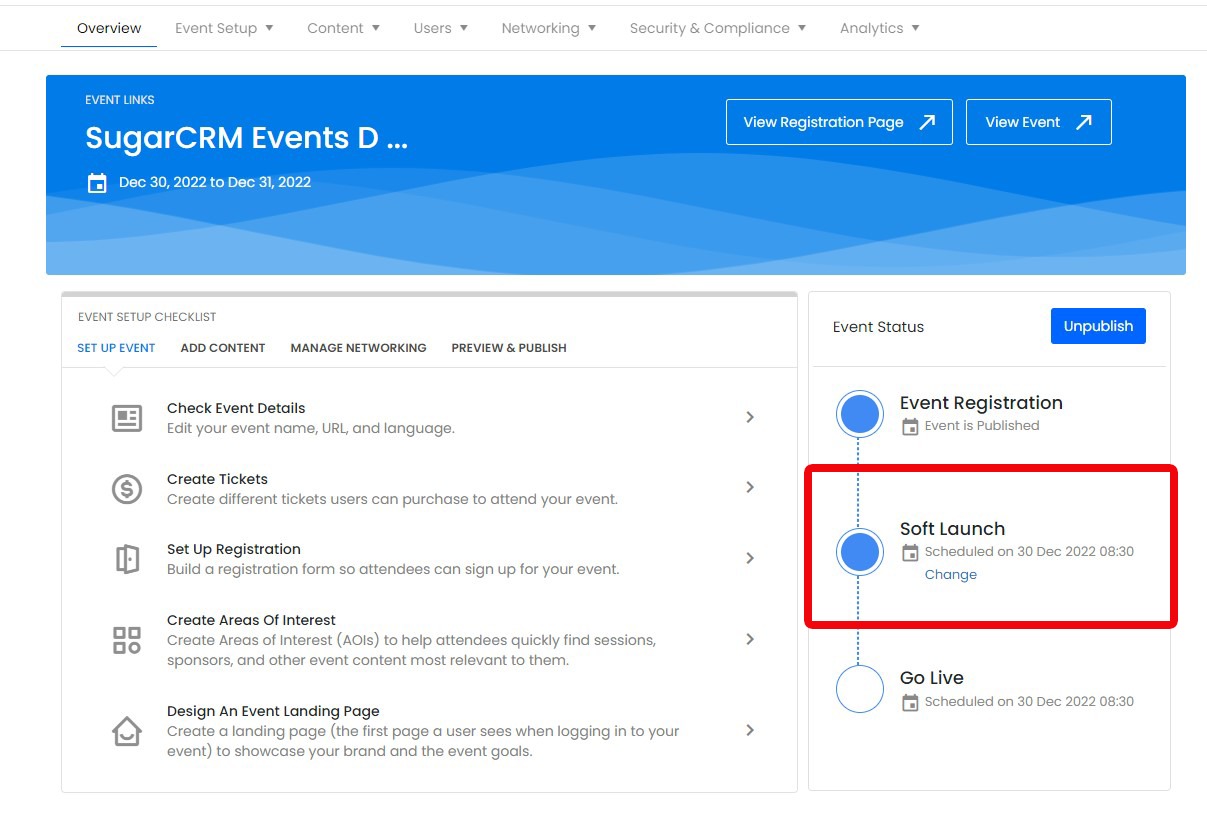
Apart from Publishing your event we also give you an option to soft launch your event.
A soft launch is like a rehearsal or test drive of the Event's presence and performance on the market. To be more specific, it is releasing the Event to a restricted audience (up to 100K users) before the official launch as this needs to be set up manually by the event owner using the Social 27 Designer.

![]() Further Reading :
Further Reading :

Comments
0 comments
Please sign in to leave a comment.