In the Social27 Events Platform, you can create custom permissions to meet all of your event needs.
By default, every event has the following user permissions:
- Attendee
- Speaker
- Moderator
- Booth Rep
- Event Organizer
- Workspace Admin
For additional information about these default user roles, check out this article.
If you would like to create a new role, log in to the platform, select a workspace, and open an event. Use the top toolbar to navigate to Security & Compliance > Permission Management and click New Permission. Once you've named and created the new role, click the pencil icon to adjust that role's settings.
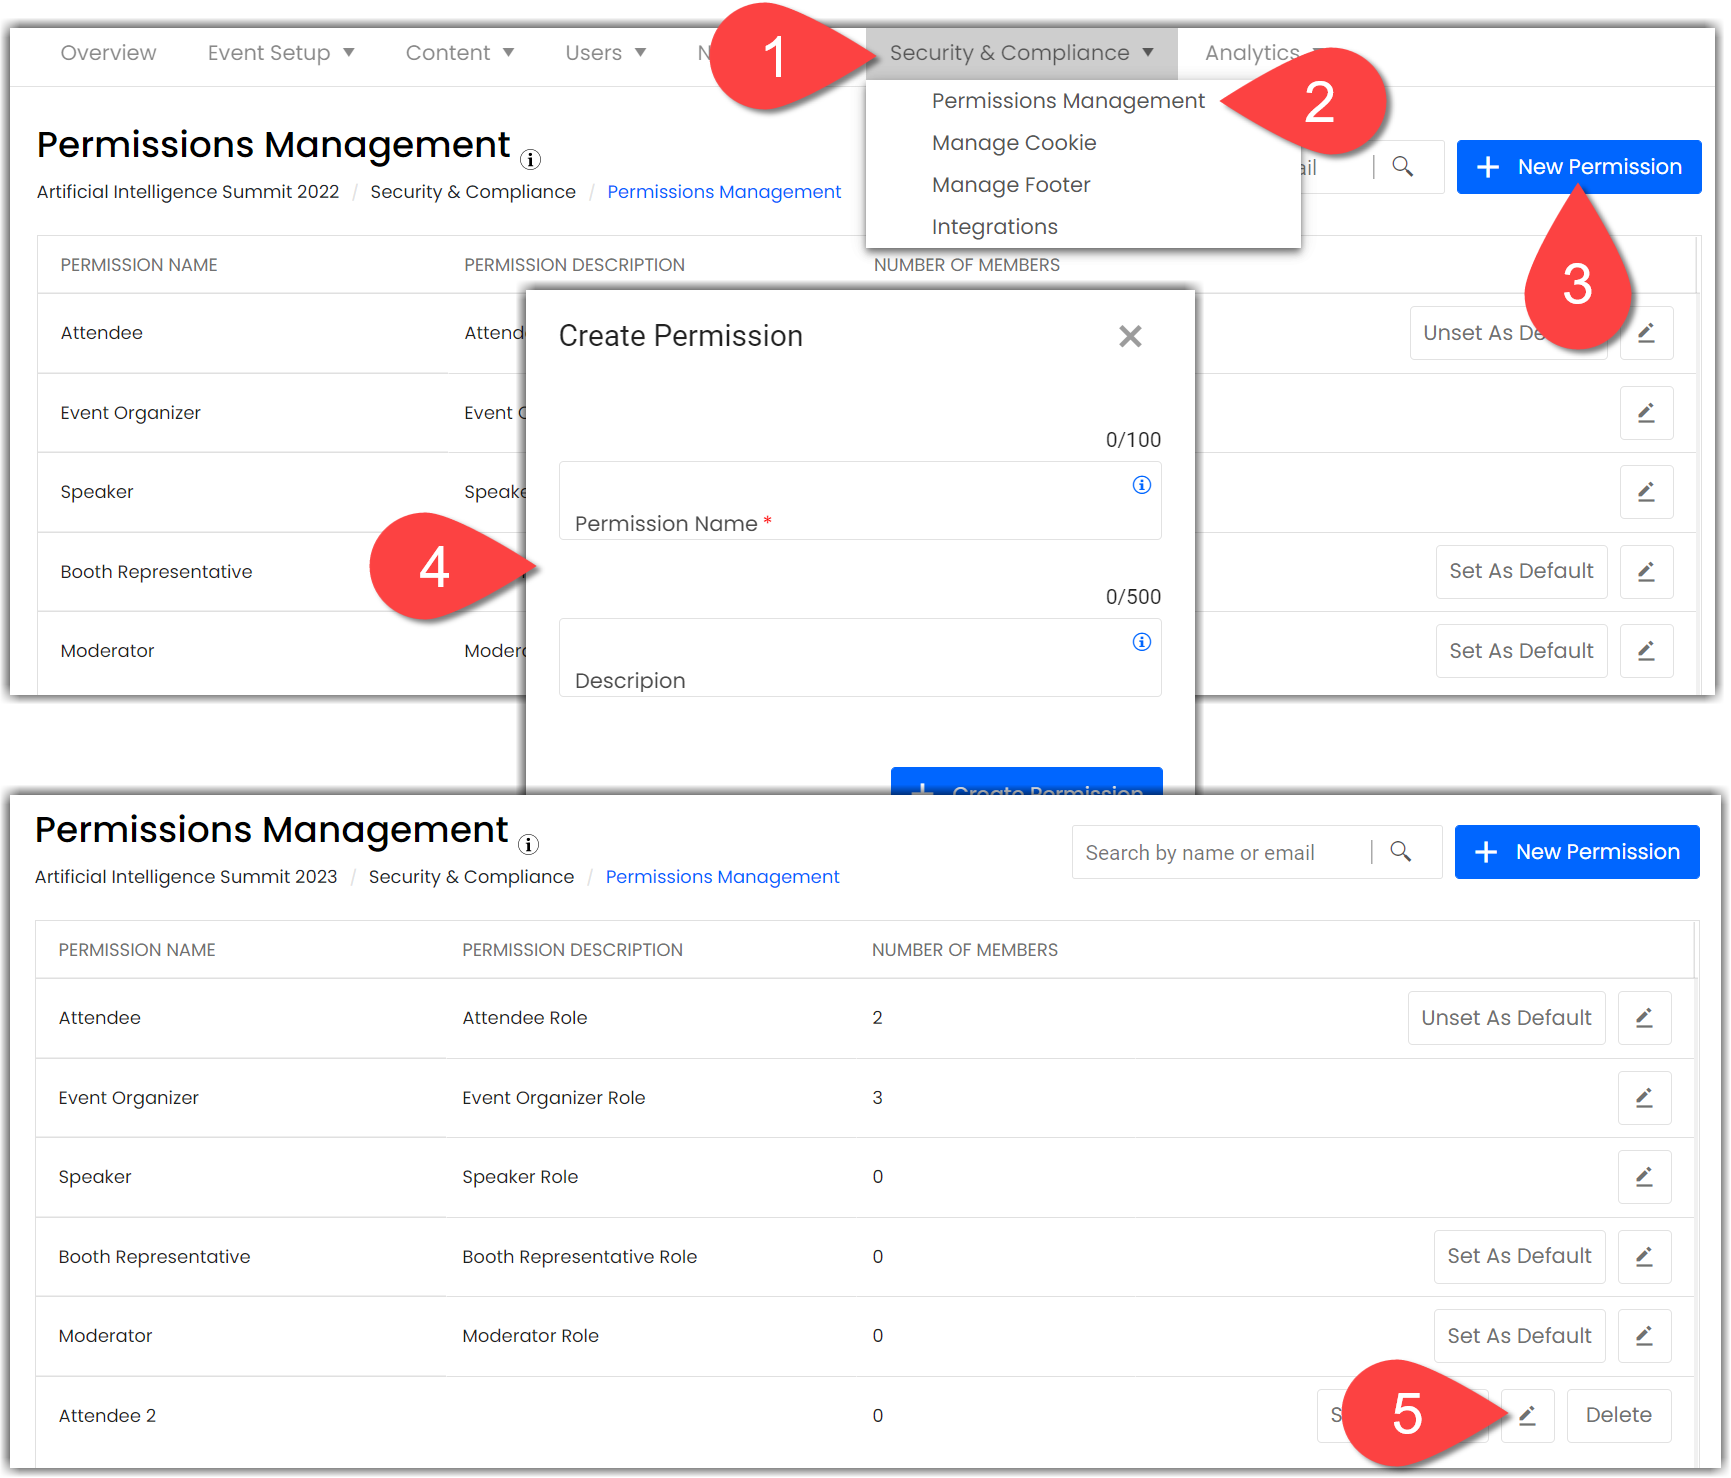
You can start by managing the visibility of pages for the permission by clicking on ‘Manage Restricted Permissions’ from the right side of the screen.

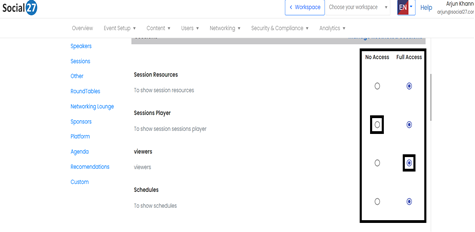
With the help of the toggles, you can control the visibility of the permission that you are working on.

Towards the left, you will see the list of event pages. You can click on these pages to start managing the custom permission.

After selecting the page > simply mark the access by clicking on the circle next to the feature.
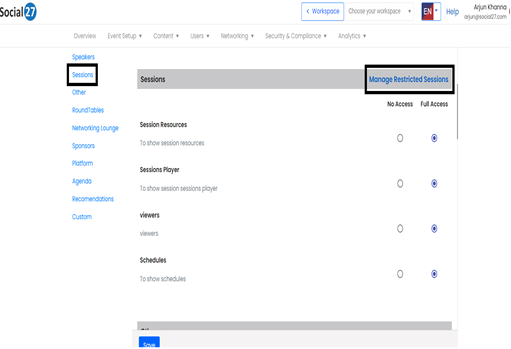
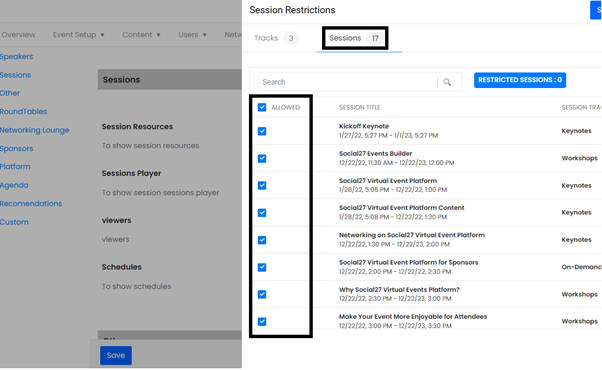
Further, you can also manage the visibility of sessions, tracks, and sponsors for custom permission. Click on sessions from the left menu, then click on ‘Manage restricted sessions.
This will open a drawer from the right side of the screen and you can click on tracks and then manage the visibility of tracks for the permission by checking or unchecking the box.
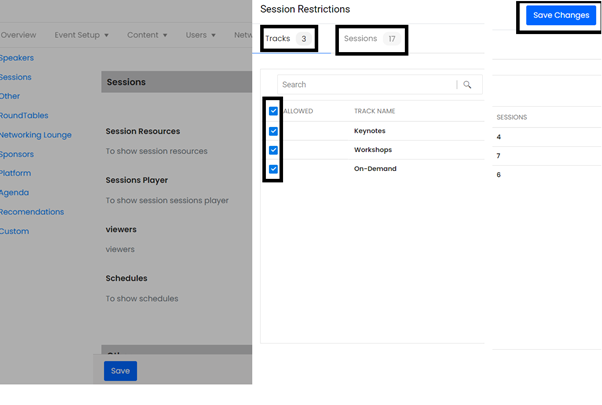
Click on sessions to manage the session-level visibility for the custom permission.
Finally, once you have created the custom permission for a special group of attendees, all you need to do now is, connect this custom permission to the attendee profiles.
![]() Further Reading :
Further Reading :

Comments
0 comments
Please sign in to leave a comment.